Overview
This article will walk you through how to attach the session box to the currently selected track and selected scene in your Ableton Live session.
The position of the session box will instantly update whenever you click on a new track or scene.
What You’ll Need
- A script added and opened inside your copy of Control Surface Studio.
- A controller template created and attached to the script. (no controller inputs are needed to do this)
- (Optional) You can download and import the completed version of the script from the ‘Article Info’ section on this page.
What You’ll Have At The End
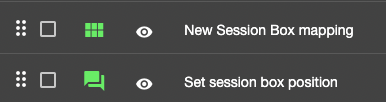
- A Session Box Mapping
- This will place a visual red box in the Ableton Live session
- A Reaction mapping
- This will add the functionality which attaches the session box to the location of the selected track and scene
Add a Session Box mapping
After creating a new script in your copy of Control Surface Studio, click the ‘Add Mapping’ menu and select ‘session box’ to add a new session box to the script.
The session box edit form will open. For this example we don’t need to add clip launch controls, or change the size of the session box (but you can if you like).
Click save.
Add a Reaction mapping
Click ‘add mapping’ and select ‘Reaction’.
Give the Reaction a descriptive name such as ‘Set session box position’.
Scroll down to the Reaction section of the mapping edit form.
Listeners
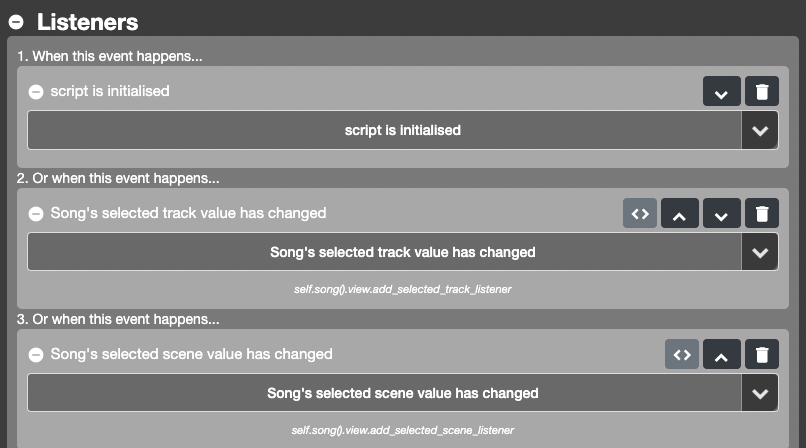
The Reaction needs to fire when 3 different events happen, so add the following listeners:
- When the script is initialised: script > script is initialised
- Whenever the selected track is changed: Live Object Model > song > selected track has changed
- Whenever the selected scene is changed: Live Object Model > song > selected scene has changed
Action Block
In the Action section of the Action Block, we need an action to set the position of the session box, so add: script > set session box position
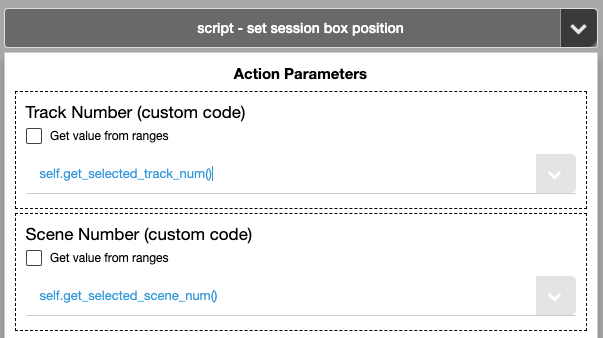
Action Parameters
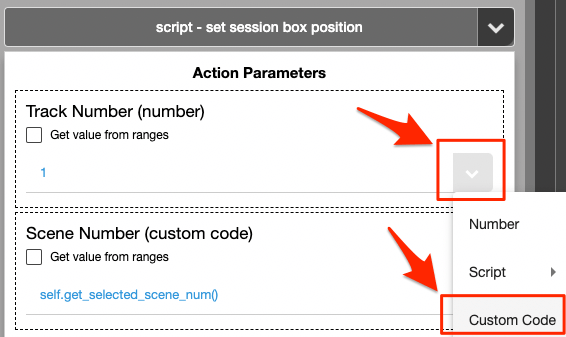
The ‘set session box position‘ action has 2 Action Parameters: Track Number and Scene Number.
By default these are set to static numbers but we want the track and scene numbers to match the currently selected track and scene. To do this we will replace the numbers with Python methods.
Selected track:
self.get_selected_track_num() Selected Scene:
self.get_selected_scene_num() Switch Action Parameters to custom code
To add code into the action parameter fields, you’ll first need to switch them to Custom Code mode.
For each field, click the arrow button on the right and select ‘custom code’. You will now be able to add code.
Copy and paste the above code to each field and click save.
The Reaction is now complete, and should look like the image below.
Click ‘save’ to add the mapping to the script.
Then click save at the top of the script manager to save the script to file.
The script is now ready to be generated into Ableton Live in the usual way, by clicking the orange ‘Generate script in Ableton live’ button.